We get quizzed about the contents of our camera bag and our tech gear dozens of times on a daily basis. If we had a dime for every time someone asked us about the stuff I carry in my camera bag, we’d be millionaires by now 🙂
So we thought we’d put together a definitive list of everything we carried in our Camera Bag in 2017. If you read a similar post back in 2014, you will realise that there are a lot of constants – this is photography gear I know and love but this year I also discovered a lot of new stuff that have made the process of shooting, processing, or curating images and videos on the go a lot easier. So here I am sharing my favourites and going over everything in my camera bag right now:
-
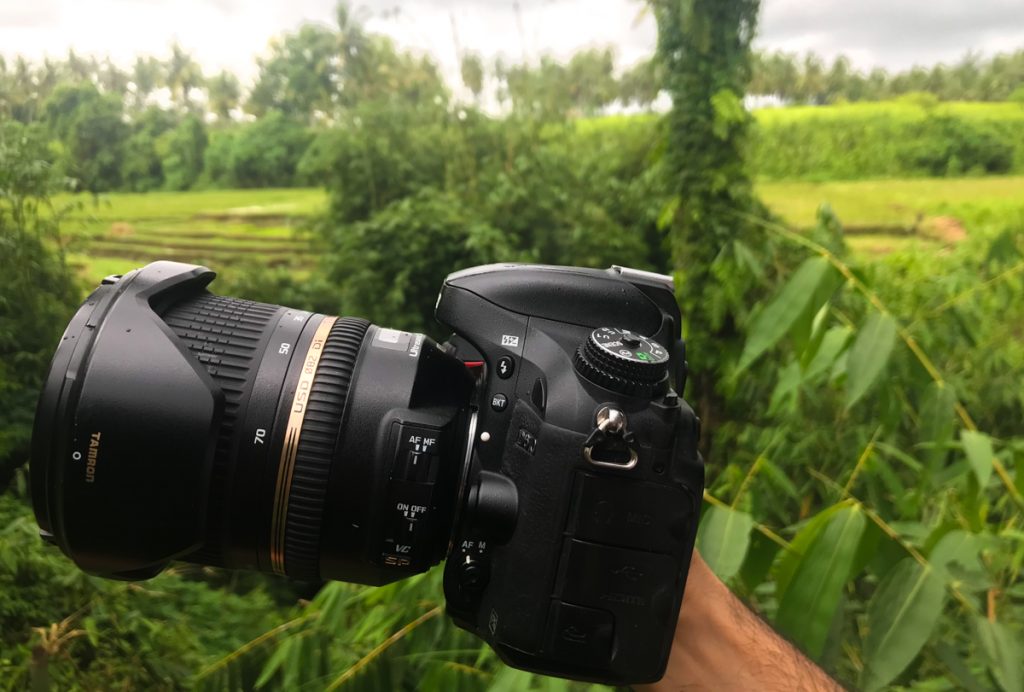
Camera
I’ve used everything from a Sony to a Canon over the past few years. My current camera is still the old faithful Nikon D610 (have had it for over four years now). It’s a full frame camera that is sturdy and gives great results. I’ve put it through a lot – subzero temperatures, heatwaves, windstorms, waves – but it has stood its ground. However I’m definitely due an upgrade and will be picking up a new camera, probably a mirrorless camera, in 2018.
At this stage I’d also like to add that if you’re a starter, you DO NOT need fancy gear to click good photographs. You need to have an eye for composing shots and capturing your way of seeing the world. Asking a photographer what camera he uses is like asking a chef what oven he uses! So start with an entry-level DSLR and see how you get along with it before investing in something more expensive. Both Canon and Nikon make some great entry level DSLRs. You can compare prices and pick one up here.
-
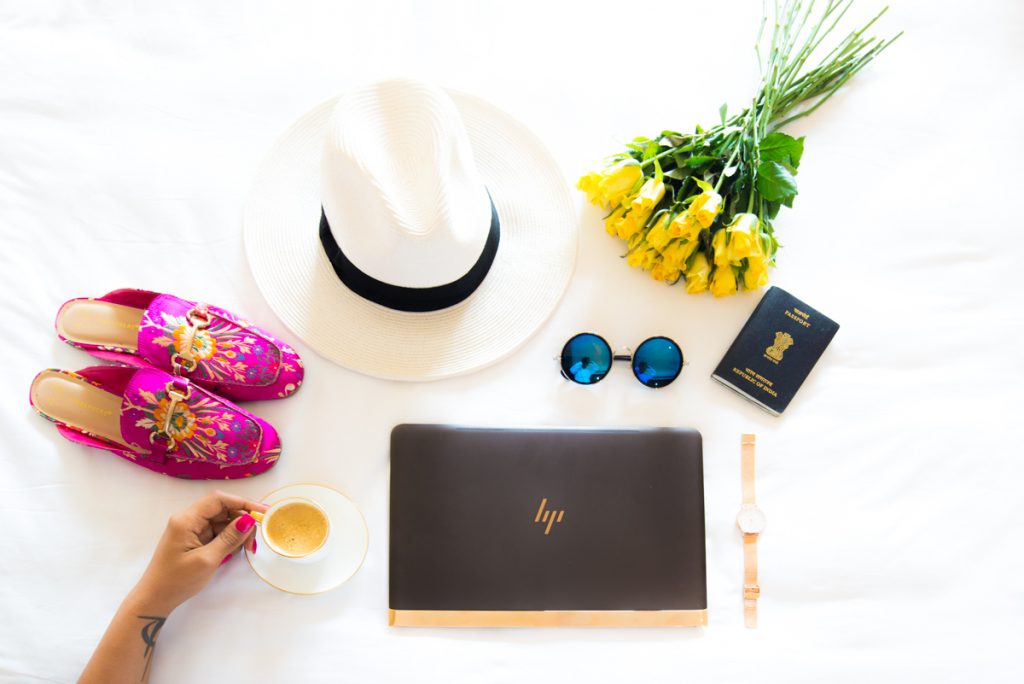
Laptop – HP Spectre
We’ve been using the HP Spectre for well over 6 months now and have loved taking it around on all our travels. It’s a staple in my travel bag now. As a photographer and full-time traveller, I need something that let’s me run my photo editing and video editing apps smoothly and is also extremely portable. The Spectre is super thin (at only 10.4 mm thick) and yet super powerful for the size, which is what one is looking for when travelling for work. Its size, weight, and power have been the most beneficial for me as it has helped me shave off 500 grams from my bag weight without compromising on performance.
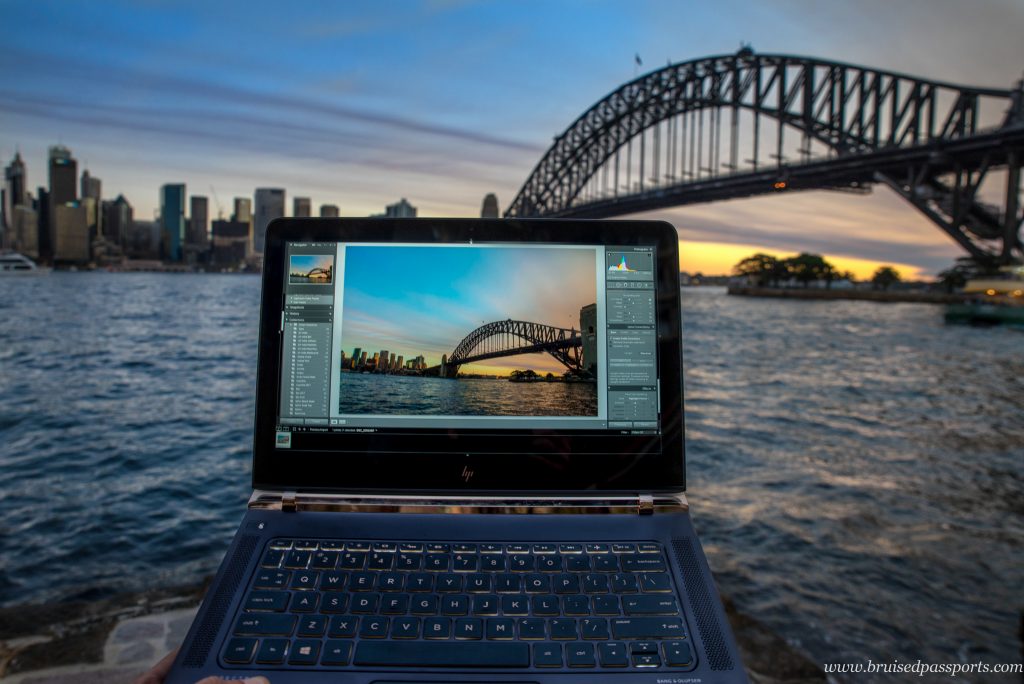
Since both Savi and I spend a lot of our time working online, going for meetings, and travelling, it helps that the Spectre is beautifully designed, has a super sleek look (dark ash and copper give it a luxury look), comes with an excellent back-lit keyboard, and sports a full-HD screen for all those Netflix sessions 🙂 .
And for those who want to know the specs, the one I have been using has an Intel i5 processor, 256 GB SSD, 8 GB RAM, and Windows 10. The machine has 3 USB-C ports and comes with adapters to convert these to standard USB, HDMI, and VGA outputs – easy peasy!! 🙂 In terms of battery life, I manage to get 6-7 hours of browsing, video watching, and photo-editing on a single charge. It’s a great ultrabook and I can’t wait to try out its successor – the Spectre X360 – a convertible laptop with a more powerful processor than the machine I have right now. 2018 is already looking good 🙂
Check out this video we made showcasing our HP Spectre:
-
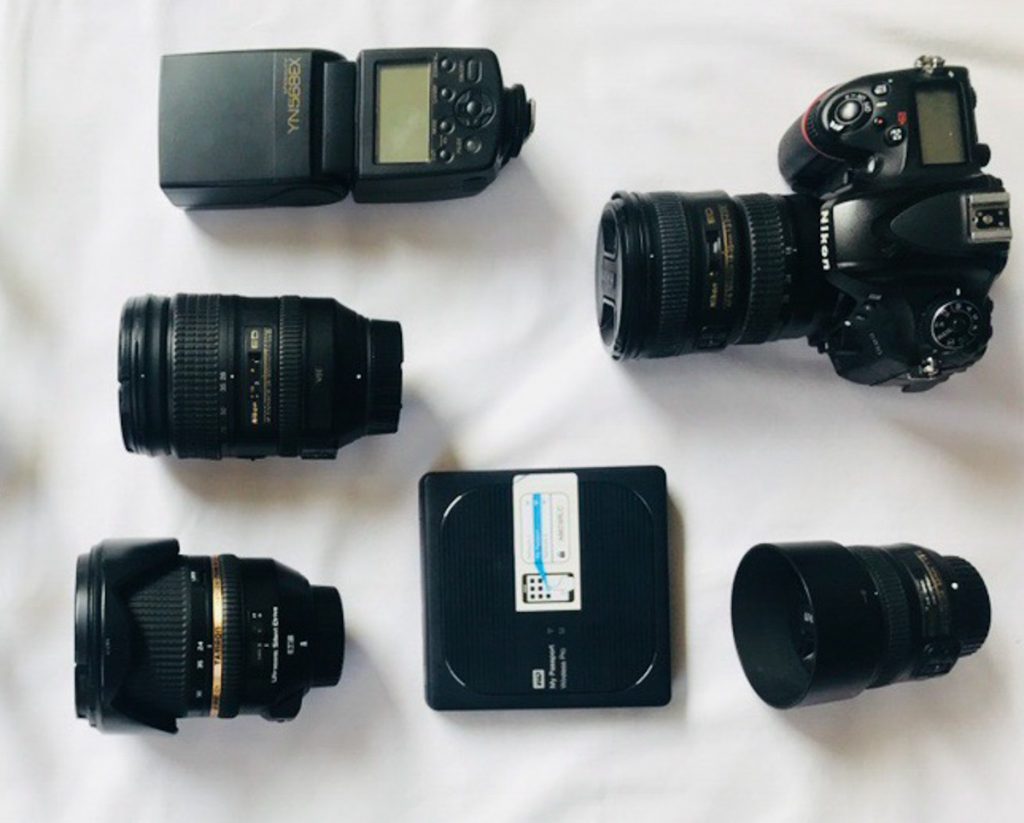
Lenses
As for lenses, I have 4 of them right now and they go everywhere with me. Out of these lenses, I use my 24-70mm lens the most. I also love my 50mm lens, it’s perfect for portraits. I would suggest investing in a 28-300 only if you do a lot of action photography – think sports, wildlife, or where you need extra focal length. That said, The 28-300 isn’t my favourite lens because it lacks sharpness and is quite heavy to lug around. An 18-35mm lens is ideal for wide-angle photography. Here are the details of all 4 lenses
- Lens 1 – Tamron 24-70mm f2.8: The lens that stays on my camera for more than 75% of the time. I love the build quality, the sharpness, the beautiful bokeh, and the constant f2.8 aperture which comes in handy in low light and for portraits. I just wish it was a bit lighter and cheaper 🙂 You can read reviews and purchase it here.
- Lens 4 – Nikkor 50mm f1.8: The perfect lens if your budget is low. The quality of photographs that this lens produces is exceptional for the price you pay for it. A MUST have in your travel bag. Check it out here.
- Lens 3 – Nikkor 18-35mm f3.5-4.5: I bought this lens a couple of years ago (right before we started travelling full-time) to capture landscapes, architecture, and those starry nights. Love the fact that it’s really light and produces great quality photos. You can read more and buy here.
- Lens 2 – Nikkor 28-300mm f3.5-5.6: While I started out with this lens, it is rarely used now. It’s great if you need a versatile lens covering a wide focal range, but that versatility comes at a cost – the quality of photos from this lens is not exceptional. Add to that its weight and it usually stays in the bag or at home 🙂 More reviews here.
-
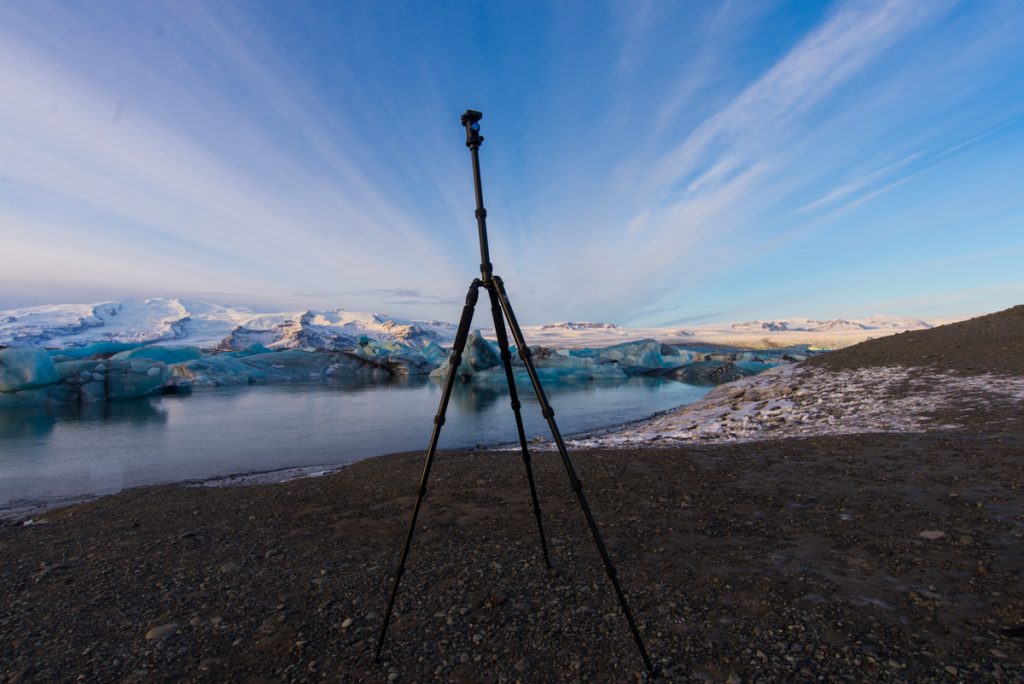
Tripod
After 3 years with Manfrotto BeFree, I decided to try another tripod as the BeFree was unable to handle the weight of my camera and Tamron 24-70mm lens. Plus, it was beginning to show signs of wear and tear after so many years on the road. After a lot of research online for a great travel tripod that did not break the bank, I decided to go for a Sirui NT – 1005x travel tripod. Now, Sirui is company not many people have heard of, but Google them for reviews and you will see how everyone vouches for their tripods.
The moment you hold the tripod you can tell that it feels sturdier than BeFree. It can hold up to 8 Kgs of camera + lens weight and also comes with a spirit level (which was missing in BeFree). The one thing I had to get used to was the twist locking mechanism but after a couple of sessions in the field that feels second nature.
You can also use one of the detachable legs of the tripod as a monopod and in extremely windy conditions the centre hook comes in handy to hang extra weight on to the tripod for added stability. It comes integrated with a ball head, has a total weight of 1.2 Kg, and can be folded easily to take it as part of cabin baggage. I’ve used it over a few months and trips in Europe already and love the amazing build quality, features and the stability that it offers. You can purchase it here.
-
GoPro and Gimbal
For action shots, we use our GoPro Hero 4 – it’s not the latest version as we are due an upgrade soon. A lot of you ask us if the GoPro is a good camera. Yes it is. But it should be your second camera, not your first one. The reason? GoPro is great for moving shots (eg driving on roadtrips) , adventure shots (eg. watersports, bungee jumps etc) but doesn’t offer the best quality still photography.
We use the clips that come with a GoPro camera to tack it onto our car or helmets when we go caving or hiking but I personally find a Gimbal much better to stabilize GoPro videos. We have been using FeiyuTech’s 3-axis stabilisation gimbal (G4) for almost 3 years now and really like the smoothness and finesse that it adds to our videos shot on GoPro.

Storage
With SD cards, the rule is simple. The bigger, the better. I’ve been using Sandisk cards for years. I am currently using the 128 GB Sandisk Extreme Pro SD cards that offer transfer speeds up to 95 mb/sec (if your camera supports it is a different question altogether). This card comes in very handy especially when you don’t want to take daily back-ups (although I try my best to back-up photographs daily). They come in 32GB to 250 GB variants and are super fast, especially handy for videos, night photography and time lapse shots.
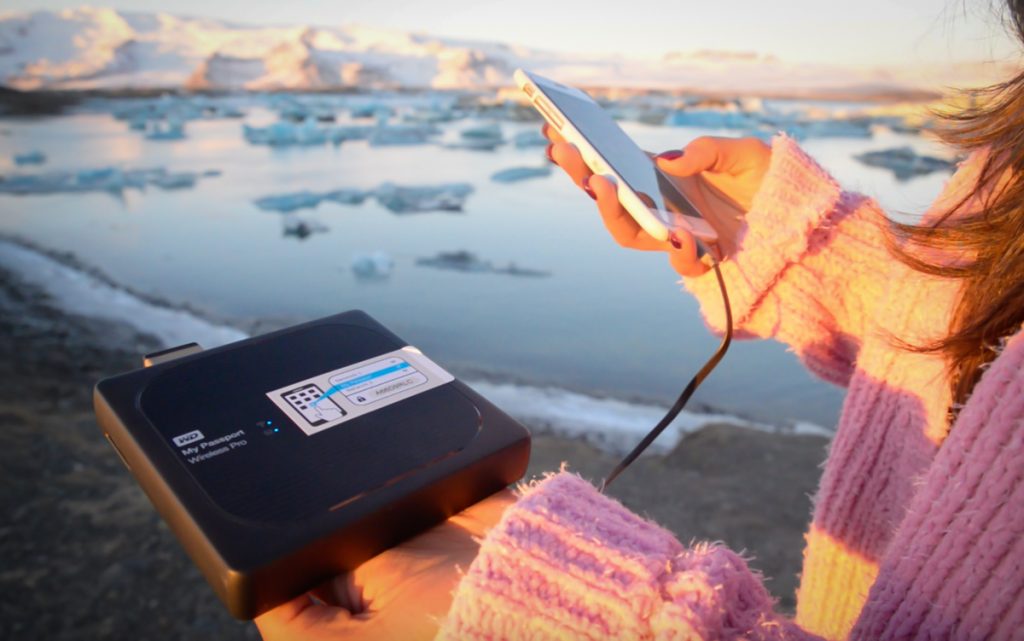
I also discovered the Western Digital My Passport Wireless Pro Harddisk last year, which is really good if you click a lot of photographs. This is because you can transfer photographs straight from your camera to the harddisk on the go if your camera supports wireless functionality. If not, the harddisk also has an SD card reader which is so handy. The best part? It can also be used as a battery pack to charge your phones 🙂 Since it also doubles up as a power bank, it’s a bit towards the heavier side but then one does not need to carry a power bank, or a laptop even when stepping out for the day’s exploration since you can transfer photos straight from your camera to the hard disk using a mobile phone.
Drone
We recently picked up a drone (finally) and have really been enjoying flying it in exotic places around the world. We have a Parrot Bepop 2, which is an intermediate drone, and comes with a controller and FPV (First Person View) goggles that you can use to see what the drone sees when it’s flying. It’s easy to smash drones if you aren’t used to piloting them, which is why we did not want to go for a high end drone at first. Having said that, we’ve been pleasantly surprised by the quality of Parrot Bepop 2. It actually took a tumble when we were flying it over a rugged terrain recently and fell straight on the rocks. Our first instinct was that it would have smashed to pieces but to our surprise it was working absolutely fine after a pretty massive crash.

It weighs only 500 grams but offers excellent stability in videos even in windy conditions, which is quite impressive. The video quality can be hit and miss when natural lighting is not the best, but the 1080p videos suffice for most intermediate interests. We both love the ease of flying this drone – be it with the controller or with your mobile device. It has a flying time of roughly 25 minutes per battery charge which is not bad at all given the weight and size of the drone. You can read more reviews and get the best price here.
Here’s a fun little drone video from Iceland:
All in all if you’re not ready to shell the big bucks on more professional quality drones, Parrot Bepop2 is the perfect drone to get for those starting out in the field of drone photography. We’ve been uploading a lot of videos shot on the Bepop 2 on our Instagram channel, so do take a look.
Tell us – what are YOUR favourite tech gadgets that you carry along on your travels?
Hey! Have you every thought of going Mirrorless? We used to shoot DSLR Canon and just made the switch three months ago and we’re not looking back. You should check out the Sony A or 9 series.
Cheers!
Hey yes mirrorless is on the cards 🙂
Hello Guys !
Very useful informations are put all to gather.
We are also couple traveler ( recently started) from India, this blog gave us important insights of your travel bag.
Thank You Guys !!
Hello Guys,
Love your pictures and blog.
Curious! How do you edit your pictures? Looking forward to learn that.
Thanks guys!
hi Roshni,
I use Lightroom 🙂
Hi Savi, You travel blogging inspires us a lot.
Have followed you New Zealand Tour when we were there and that was amazing.
I just wanted to ask Which Drone are you using right now as I would like to get one for myself.
Thanks
Hey Ishan – I have a DJI Mavic Air right now. If it’s your first time trying a drone, then I’d suggest something cheaper like Parrot Bepop – you can practice on it and it gives good results too but isn’t too expensive 🙂
I really love the content you posted, it is always super helpful and informative. Keep posting such an amazing article, I love reading all your blogs.